As I'm sure those of you who have been here before can tell, I didn't like my "New Look" and changed it back. This just seems more colorful to me. My fear is that it's a bit old fashioned and I should go more for the Community or Magazine look, what do you guys think?

Friday, February 1, 2019
Saturday, November 24, 2018
My New Look!
If you have been reading my blog before, you might have noticed the new look. This was actually by complete accident and I'm really not sure that I like it. I would love to know what everyone thinks about it. I guess my biggest problem is that I miss my Header with my logo, the flowers, color and whatnot. If I can figure out a way to get that header back then I might just get used to it.
Tuesday, October 23, 2018
Wedding Card in Cream and Wine


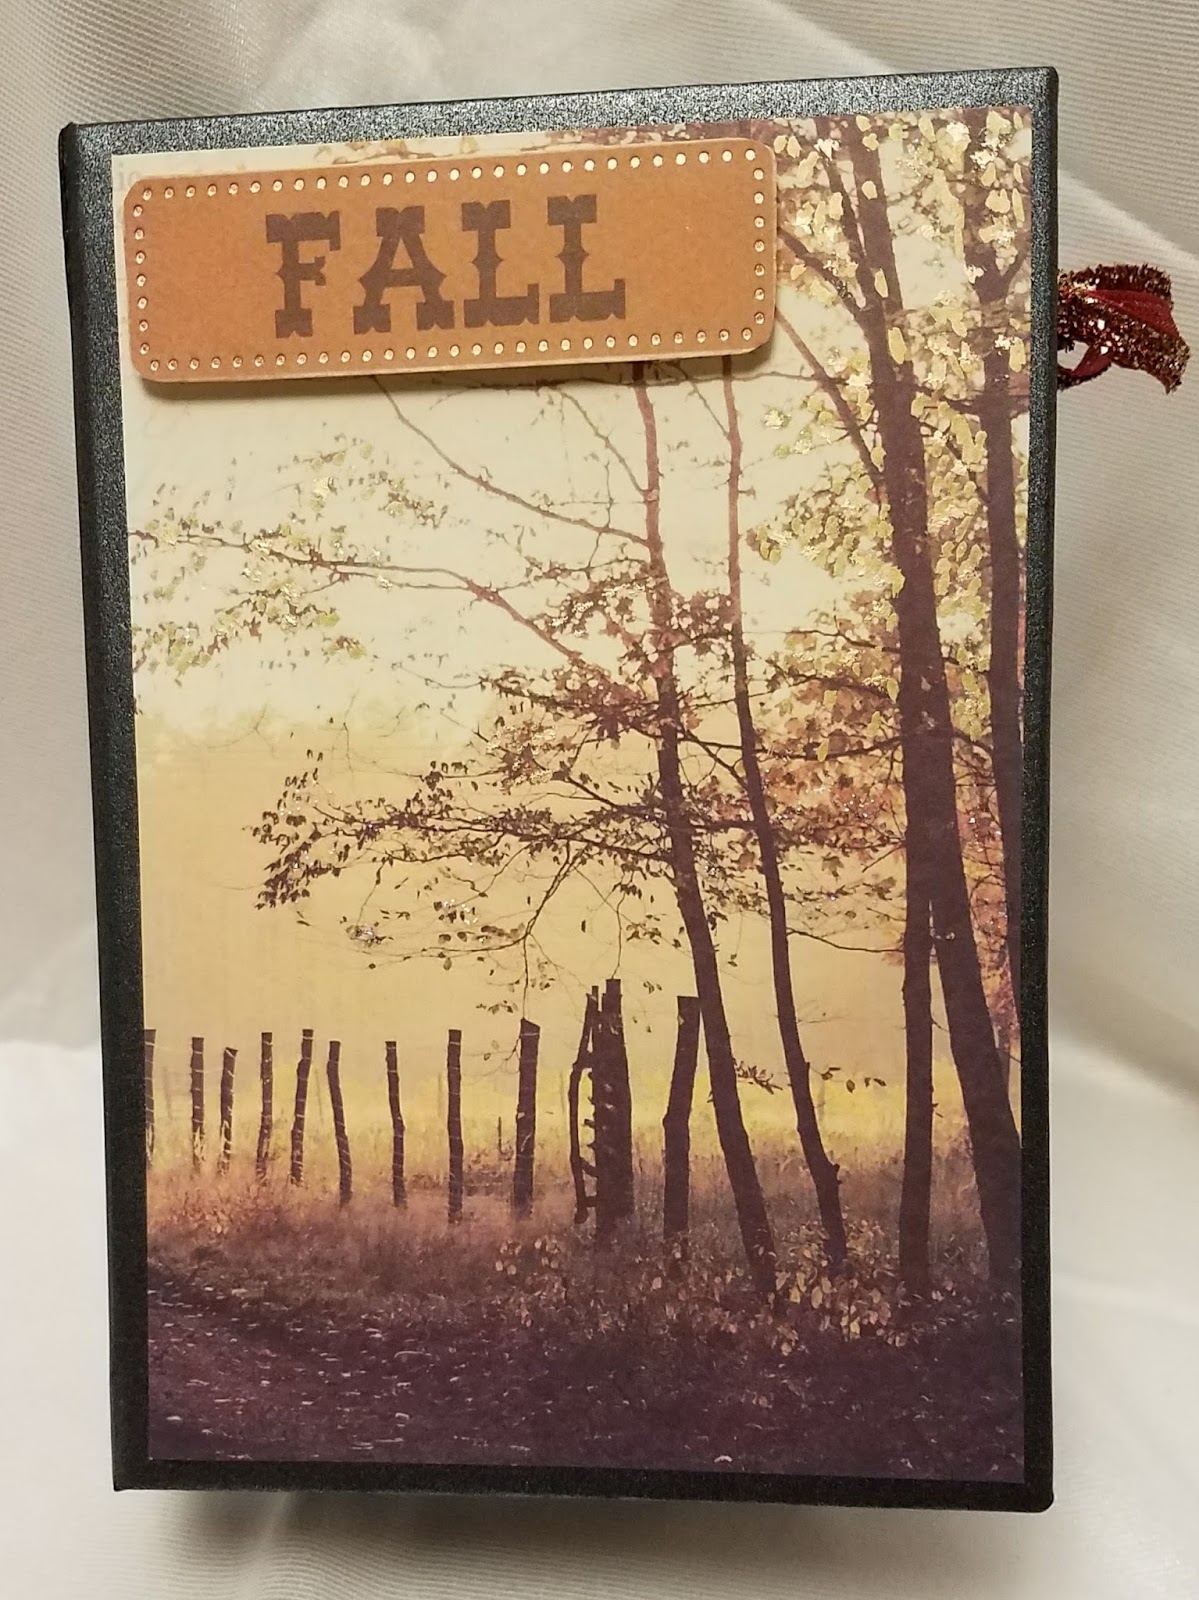
Engagement Card


I found a very similar card to this on Pinterest and thought it would make a nice Engagement Card and this is my adaptation of that card. I this for my daughter and her fiancee to congratulate them on their engagement (Officially). They are married now, the wedding was October 12, 2018 and it was just beautiful.
The heart is cut from the a Cricut file and it's tucked behind a die from Spellbinders, Shapeabilities called "Iron Works". I curled it a bit so that it would poof up in the center and allow the heart to slip under it. I placed a piece of clear Vellum over the mat and the paper pattern is by Prima "Cherry Blossom" pad. The flower gems in the corners are sticky gems that I bought ages ago at Michaels Arts and Crafts store. I made a matching keepsake box and that is what the card sits in. The top of the box in under the box bottom. The card is approximately 5 1/2 x 5.
Monday, January 29, 2018
Catching up
I know, I know, I've been terrible with keeping up with my blog. What can I say, The day needs to grow more hours.
Anyway, I thought I would show off some of the things my class has been doing. I am going to close my Michael's Facebook page, the postings are rather redundant and If I have to choose one to devote the time too, it will be this blog. I hope that everyone who has visited the Facebook page will take a look here to catch up on what we have been doing and what you have been missing.
I have started Custom Classes. These are one-on-one class sessions and can be anything from learning Cricut Design to taking a missed classed. I certainly don't know how to do everything, but you never know, I just might know the thing that you're wanting to know.
These photos are not in any sort of order, but here we go:

The class is making paper flowers and loving them!

Here I think we are making large pinwheel center pieces.


Another one of the monthly scrapbook pages, this one is inspired by a pin that I saw on Pinterest. I would love to give credit to the original author, but it was too many pin's deep to find.

This is a scene stamping technique that I learned from a tutorial that Theresa Momber was kind enough to upload to YouTube. I just loved the card and after making it for awhile, I thought I would pass on her beautiful ideas to my class.

We made some Christmas Lanterns and they turned out super cute. Again, I must thank Pinterest for the idea.


This was an Easter project. I used Tim Holtz tissue paper, floral napkins and the Graphic 45 "Time to Flourish" and "Botanical Tea" paper stacks. It was a very pretty project.

This past Christmas it seemed that everywhere I looked these glass blocks where being decorated with vinyl and stuffed with tiny lights, so I jumped on the band wagon and the ladies in my class turned out some beautiful blocks.

We got busy with the d.i.y. Christmas gifts, one of which were the etched mugs and bottles. The beer mugs turned out especially well with some custom monogram work done, thanks to my trusty Cricut Air.


I saw these pocket folios on YouTube by My Sister's Scrapper and fell in love with them. I made four before deciding to teach her wonderful project to my crafty ladies, they also loved them.
Thursday, February 23, 2017
Michael's Ends Classes
Things are changing at Michael's Arts and Crafts stores, some good and some not so good, at least from my standpoint. I've been the Paper Craft Instructor at Michael's in Lee's Summit, MO for the past two years and absolutely loved the experience. I have also loved teaching crafting techniques, tricks and tidbits and being able to do that inside an Arts and Crafts store was flatout amazing! But, time marches forward and the world changes and that applies even to Arts and Crafts Stores.
I have no idea why the Corporate decision makers decided to put a stop to all Instructor led classes and instead use only employee/store associates to lead their class demonstrations. Instructor Choice classes were a way for the Instructors, working from Micheal's, to teach classes that were not corporate designed classes.
But everything is ok... Michael's has graciously allowed me to continue teaching my classes from the classroom as long as there are no financial transactions inside. Yay! so, here we go...the NEXT CHAPTER, stay tuned.
Sunday, January 8, 2017
Way past July!
Here we are in 2017 and rapidly coming to the end of January. Time marches forward and some days seem to march faster than others. I'm really not sure where the Christmas Season went.
I just wanted to check in and let everyone know that I'm still here, I'm still creating and I'm still planning on keeping this blog updated, but let's face it...that's probably not going to happen as often as I would like.
I've got some projects done for the month of January and I'm working on some more. Here is what I have so far and I just don't know where I would be without Pinterest giving me the inspiration that I need. As soon as I get them photographed I will come back and update to add the photos.
Monday, July 11, 2016
July Already?
Honestly, I don't know where the time goes....
I
Once again, it's been forever since I've posted anything to the blog, time just keeps getting away from me.
There were so many things that I was going to do when spring finally arrived, and well... it arrived, it left and I still have not done certain things lol.
Anyway, I was playing around with vellum. It's been years since I've done anything with vellum, but I happened across my stash the other day and thought - Hey! I remember you!
I stamped a gorgeous bird and a butterfly (Inkadinkado Mindscapes) on clear vellum, then I used a number 3mm Stylus on the back of the stamped image and with little circles, filled the area in. I then fussy cut out both the bird and butterfly. I loved how puffed and crinkly they became from the embossing. The vellum that I used is the open stock vellum from Michael's, it's not heavy weight not not super thin either. If I had to guess, I would say around 30 lb.
I used my new Darice embossing folder that I first inked up with distress ink "Picked Raspberry" and ran it through my cuttlebug using white cardstock. I used one of my border dies from spellbinders (A2 Borders number 3) to make the pink banner (I can't remember who the stamp is by) and stamped the sentiment with VersaFine Jet Black ink. I then stamped in VersaMark a few flowers on the same vellum and heat set them and fussy cut them out as well. The bird, the butterfly, the flowers and banner were all attached to Flamingo Pink card stock (value pack from Michael's). I used another spellbinders die for the inside corners "Decorative Curved Square". I then made a matching envelope using the Envelope Punch Board by We R Memory Keepers.
I enjoyed the entire process. I really wasn't sure where I was going with it when I started so I'm certainly pleased that I like the end result.


Monday, May 16, 2016
Things I've been doing...
Here are some photos of some of the things I've been working on for classes at Michael's. I realize that I'm not very good with keeping up with the blog, but with everything for the classroom being put on my (Pinkey Finger Crafts ) facebook page, it just seems redundant to post them here also. I wanted to use this blog for my personal crafting and not my class stuff, but honestly I don't really do much these days that doesn't turn into a class project.
This is the Mixed Media page for June "Wishes".


This is the Mixed Media page for June "Wishes".


I created this in Design Space using Splice/Align tools and the font "Regal". I love how it turned out, it's Decoupaged with paper from the Country Road stack onto a wrapped 9x12 canvas. I then cut the monogram out in Vinyl and attched it. I actually had some trouble with it and this is the 2nd time around.

Another canvas mixed media project and this one was made on a 9x12 canvas panel using paper from the "Best of My Mind's Eye" paper stack. I used the Cricut to die cut the clouds but the background and balloons are from the paper stack.

Monday, February 22, 2016
Card for a Wedding
My Sister-In-Law's friend recently got married (eloped!)and she wanted me to make her a card that displayed the date of her wedding. After looking for inspiration, I came up with on that I found on pinterest and tweaked it. I then made a dimensional box for her to present to her friend. The card is a 6x6 Easel card, the cardstock is from DCWV "Garden Party" and uses Spellbinders dies (the 2 largest of the "Floral Ovals" dies, Majestic Labels 8, a fancy small rectangle that was cut apart for the corners and a couple of small flourishes) I also used an embossing folder by Anna Griffen "Eyelet Stripe" and the Cuddlebug. The Fonts used are Alex Brush, Cantoni Pro and Cantoni Pro Flourishes and Myriad Pro. I also created a Dimensional Envelope with 1/2 inch depth using the Martha Stewart Scoreboard with the diagonal piece.


Wednesday, February 3, 2016
My little scrap paper holder
My sisters and I like to craft with each other via Skype because both of them live in Arkansas and I well...don't! lol My younger sister and I both made these wonderful (and functional) scrap paper holder's. The box actually closes up but for some reason I didn't think to take a photo of it closed. I got the idea from a tutorial that I found on Pinterest. The paper that I used is from K&Company by Susan Winget and I don't see that the stack has an actual name. The flowers were all made by me using coordinating papers. Here is a photo of my interpretation.


Haberdashery Mini Album
I had the pleasure of working with my wonderful sister over the period of a week on Skype making this album, it was so much fun! The name of this vertical paper bag mini album is from a paper stack by, The Paper Studio called "Haberdashery". I wanted to make this entire album from this one paper stack, but I have far too many beautiful papers and paper stacks and could not resist using other papers. Some of the different paper stacks that I used are "Country Road" by The Paper Studio, "The Rustic Stack" by DCWV and "Tradewinds" by DCWV as well as several Recollections value pack papers and a few single sheets of paper that I had in my stash for a long time. My Interpretation for this vertical paper bag mini album came from the YouTube "My Sister Scrappers" channel . Here are some photos of the project.


Subscribe to:
Comments (Atom)